Bookcase 3D-design

Sawing 18mm thick pine boards to size

Cross cutting
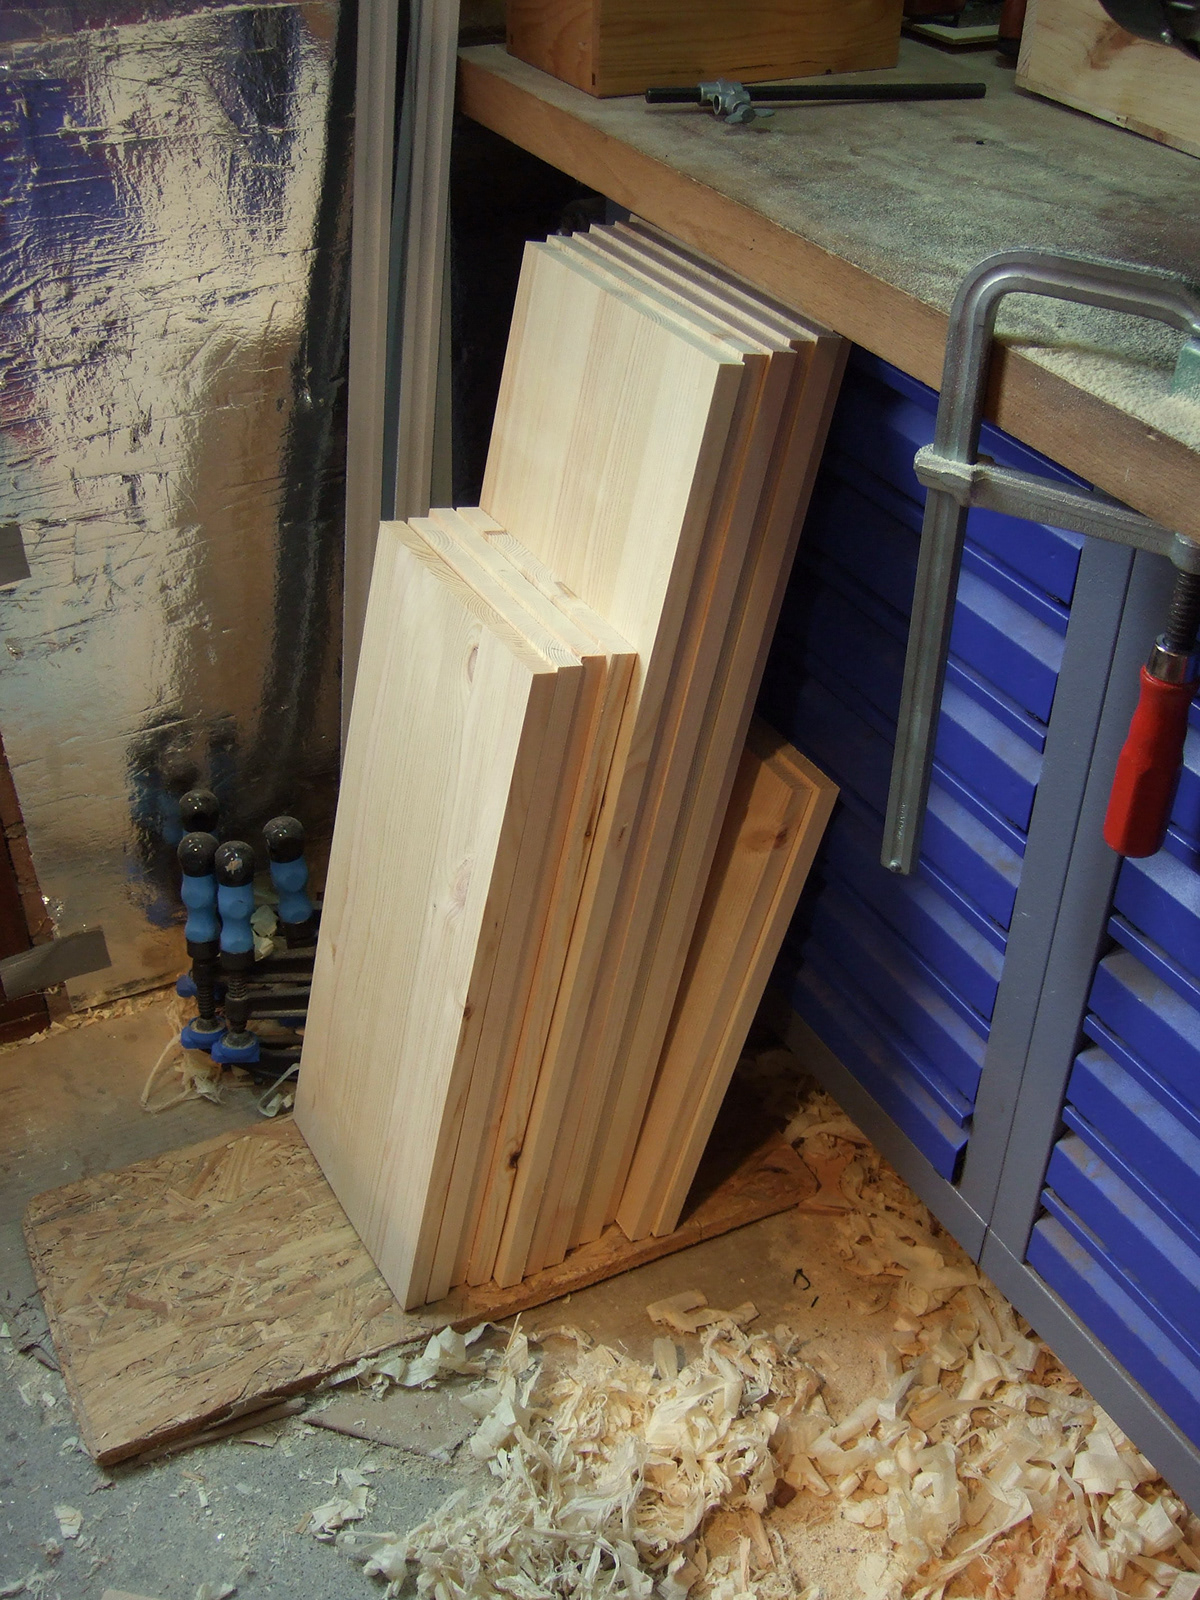
All boards for the different modules sawn and sides planed smooth and square

Routing a rabbet in all boards to fit in the backplates in a later stage

Router table with 2kW Hitachi router and shearing rabbet bit

Rabbets done on all the boards

Cutting finger joints with the bandsaw

All done

removing unwanted fingers with a Swiss coping saw to make place for interlocking fingers

Cleaning up with a sharp paring chisel

4 pieces finished with the chisel, the other 4 tomorrow...

Cutting finger joints by hand on the 80cm boards (because they dont fit under the bandsaw so well)

Step 1. Making dadoos for the shelves; scoring the woodgrains with a knife first to avoid splintering

Step 2. Clamping a guide board a known distance next to the scoring line

Step 3. Routing 10mm wide dado

Step 4. Scoring the right side of the dadoo with the help of and 18mm spacer.

Step 5. Routing the other half of the dadoo (note the 8mm spacer next to the board to save repositioning and reclamping)

Step 6. Test fitting...

Trimming the sharp edges of all the boards with my small japanse blockplane. It has a chipbreaker so no tearout even against the grain and around knots.

Fine tools...

Shelf in dadoos glue-up

Large and heavy 1m long clamps
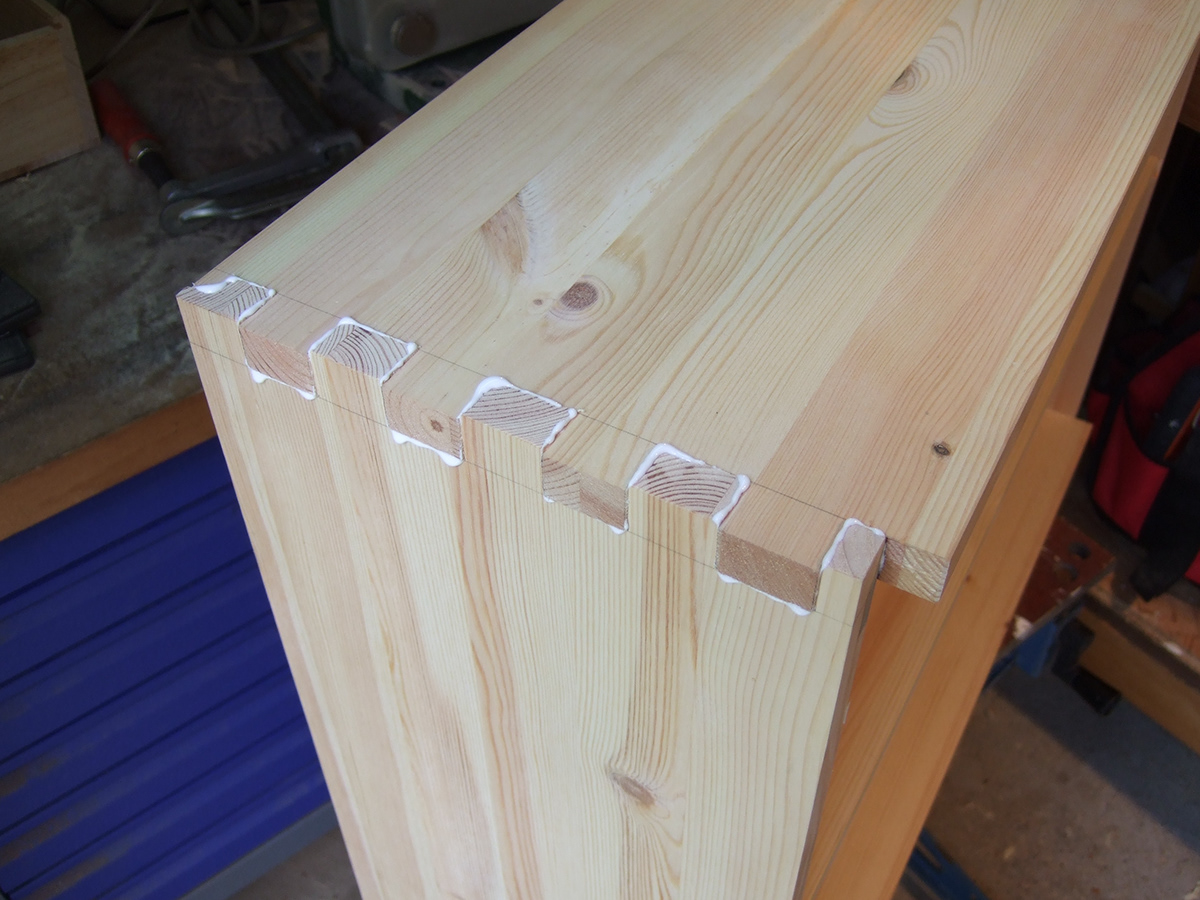
Finger joints ready for clamping. So much glue to apply glue and also on 2 sides... Almost no time for this foto... :)

Finger joints glue-up (topside)

Specially made blocks-jigs to evenly divide the pressure along all the fingers. With just 1 clamp in the middle.

I made the fingers a little longer on purpose to trim them dead flush with the low-angle smoothing plane.

Nice result

Close-up

Routing the moldings

Molding glue-up

Adds the classic touch that we want to the bookcase right away

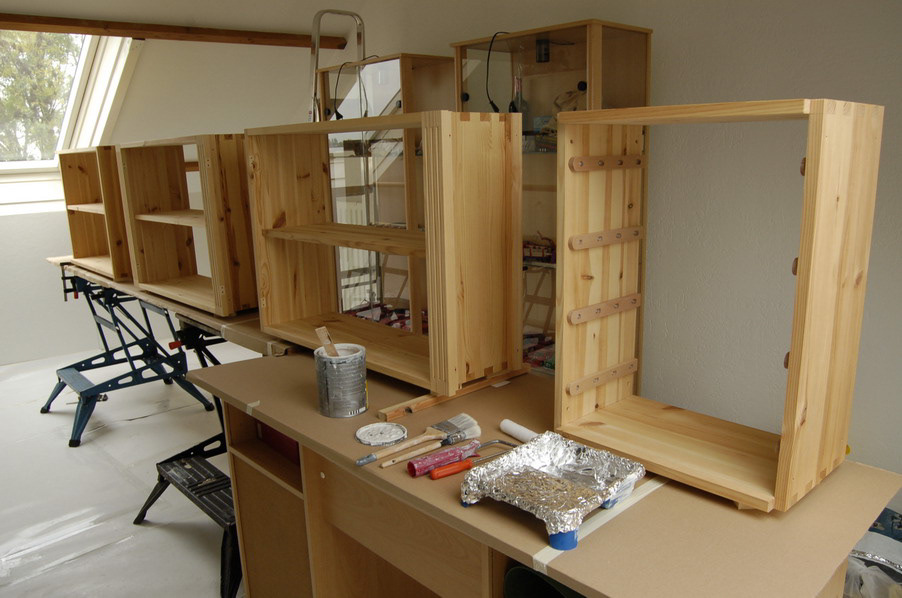
Different modules arranged...

Et voila...!

Starting with the doorframes; the best pieces from my pine planks stock sawn to length.

Trim the rough edges with the bandsaw.

Yeah its a lot... but they were good firestarters for the bbq prev. weekend.

Planing square, straight and smooth...

Heart sawn out and cut into the right width. Planed square on both edges and though ready for routing. (I made some extra pieces just in case...)

Router setup with jig and featherboard to assure a smooth and fast way of working.

Routing a small rabbet to facilitate the glass panel later on.

Some pieces rabbeted.

Front roundovers routed

All pieces for the doors cut to exact size

One corner-joint made for testing first. I dont want to screw-up the whole lot...


Perfect fit

Side view

Starting to cut all the finger joints on the bandsaw


All joints cut on the pieces for the windows frames.


Test fitting without glue. The joints fit snugly together because of the tight tolerances.

The doors are made slightly oversize 2mm spacing will be carefully created in a later stage, for the hinges and to accomodate the seasonal changes of the wood. And ofc some some layers of paint.